Showing posts with label sweet pea stampers challenge. Show all posts

Wednesday, September 24, 2014

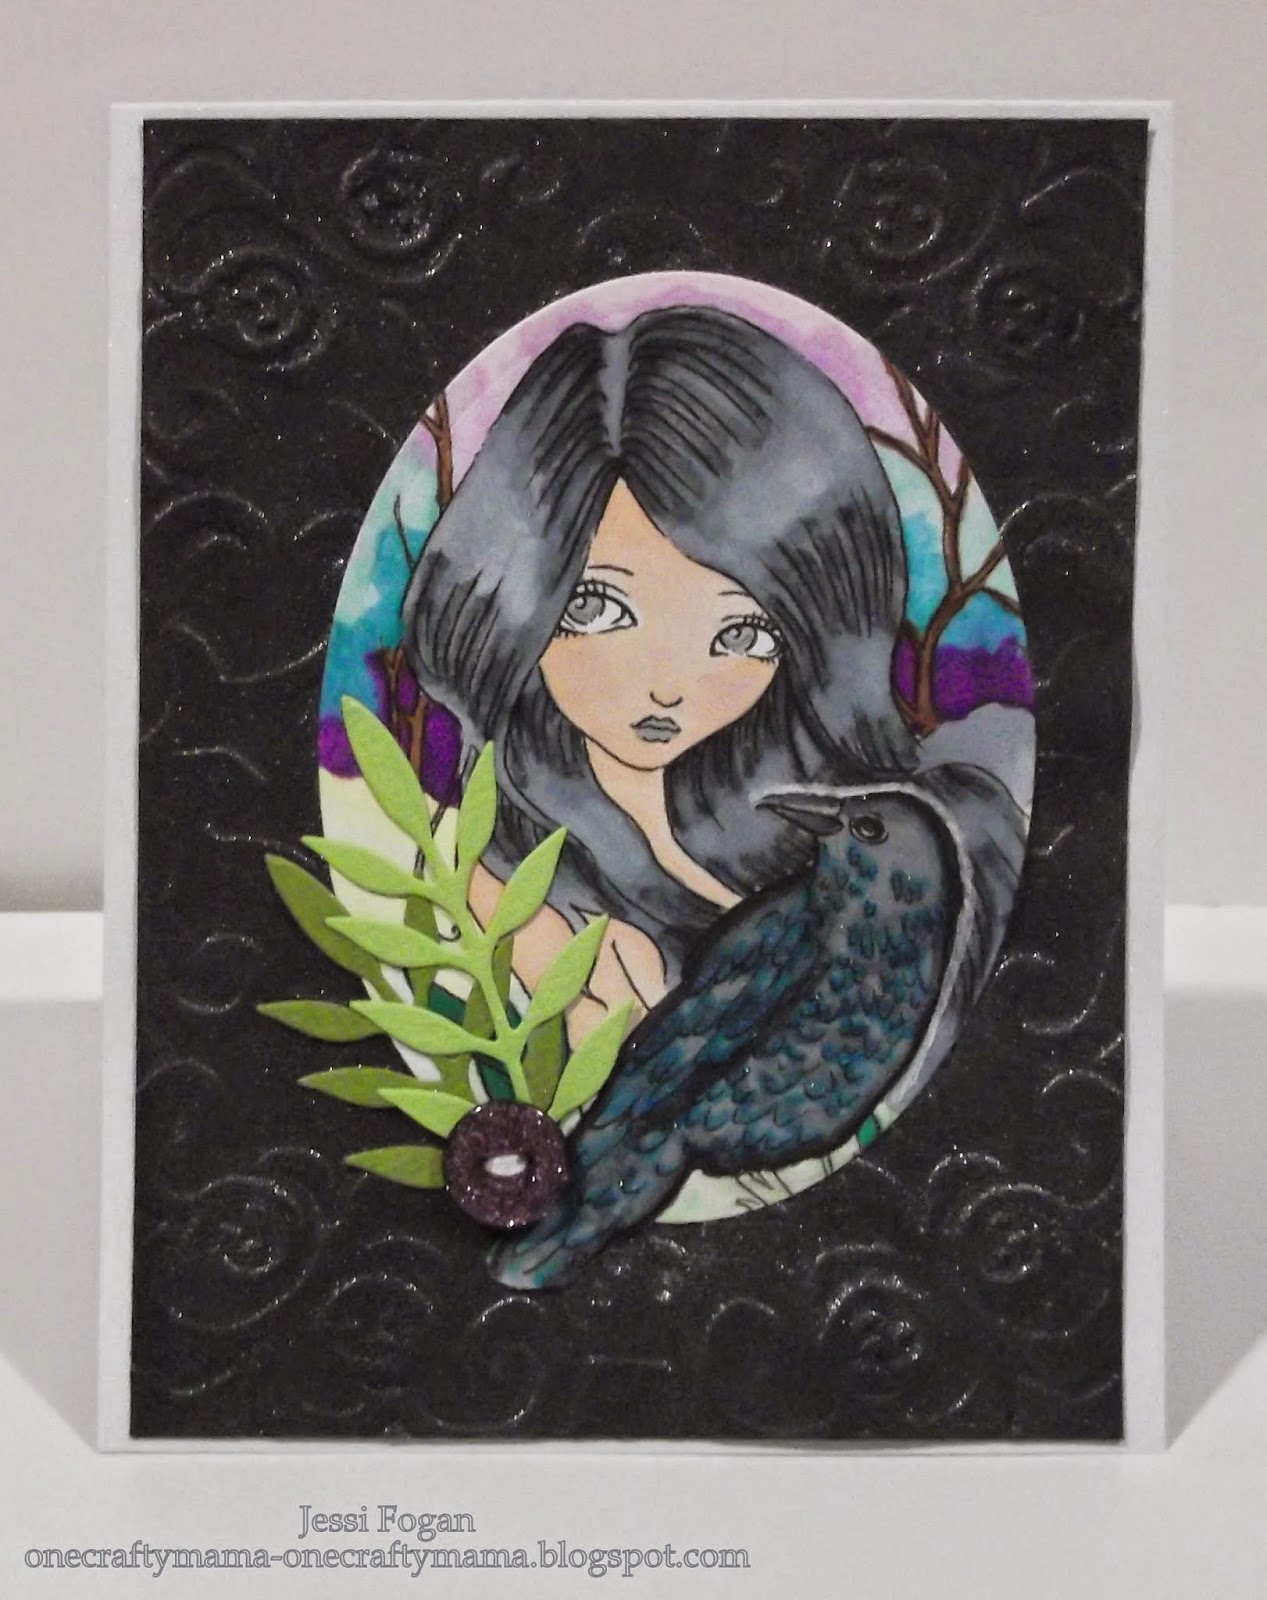
Quoth the Raven

I couldn't help having The Raven popping into my head while I coloured this image - I tried mightily to have the raven feathered in that gorgeous iridescent blue-black plumage....I have more to learn about colouring. I still like how it turned out - and I really like the sunset in the background!


Supplies: digi stamp from Sweet Pea Stamps; Spectrum Noir markers; leaf die from Memory Box; Sakura Stardust glitter pen; Cuttlebug embossing folder; chalkboard lilac glimmer mist from Tattered Angels


I sprayed the embossed black cardstock very thoroughly with the chalkboard mist, hoping for a bit more of an opaque effect. Since the sprayer part of that mist is broken (argh!) it took some finagling with a sprayer from a mini-mister and very carefully not spilling the thus-open bottle of mist all over the carpet. I'm not sure that plan was well thought through, but hey, it worked! And my carpet is only a littttle bit sparkly ;)

I've only used this image once before, so it was my first choice when I saw the current Sweet Pea Stampers challenge "All Creatures Great & Small" . Today was a grand productive crafty day while I finished binge-watching season nine of How I Met Your Mother (lots of quilling!) so I should have lots to share here & on my Facebook page in the next couple of days. 

xoxo,
Jessi

Monday, September 8, 2014

The year's first Halloween card!

I managed to hold off until September to start making Halloween cards - but the paper pad has been on my desk waiting for a few weeks now. I don't think this image is specifically Halloween, but the cats just really wanted it to be spooky, and as Maggie Mittens will tell you, I'm a sucker for doing what the cats want.

"What do you mean I don't fit? I sits, therefore I must fits."


The current Sweet Pea Stampers challenge is to use lots of layers, so I also went paper-crazy with three patterns plus an inky doily:


Supplies: digi stamp from ching chou kuik, Sweet Pea Stamps; Spectrum Noir markers; Sharpie white paint pen; Sakura Stardust glitter pen; Doodlebug papers; doily inked with Memento Tuxedo Black ink; classic small circle Nesties; glitter buttons & black rhinestones from the dollar store. 


The smidge of glitter pen on the cats' eyes (and goth girl's) makes them appear to glow - love it when it works the way I want it to! 

xoxo,
Jessi

Sunday, July 27, 2014

Fairy Journal

Oh, did I ever have fun with this project! I've altered a plain spiral-bound notebook:


Supplies: spiral-bound notebook; Sweet Pea Stamps fairy (ching chou kuik); Spectrum Noir markers; Sakura Stardust glitter pen; AC yellow glitter; Sharpie White paint pen; Studio G clear glitter glue; white pearl Liquid Pearls; Martha Stewart butterfly punches; Cuttlebug embossing folder; Versamark; Shabby Blue & Pink Frantage EP; vellum; embroidery thread; pearls & gems from Dollarama; Basic Grey brad; jewelry wire & beads; Offray ribbon; glitter buttons; flowers from Michaels; feathers found in the yard :) 


I think I remembered everything I used! The blue vellum at the top was spattered & embossed with Shabby Pink frantage EP, and then stitched to the cardstock piece, and then glued to the journal. I used loose glitter for the yellow, and painted the wings with clear glitter glue. To bead the binding, I used jewelry wire - this way the book can still open - and I've added a ribbon tassel to act as a bookmark.

I created this especially for the Sweet Pea Stampers Fairy challenge, and for the Catered Crop vellum recipe swap :)

xoxo,
Jessi

Monday, June 30, 2014

Shaped Fairy Card

When I saw that the current Sweet Pea Stampers challenge was shaped cards, I knew I wanted to use this particular image - originally I thought I would make the card by using the outline as a template for the card shape. Then I realized it wouldn't stand up. Darn physics. I ended up using the largest die in the Wonky Rectangles set to make my base.


Supplies: Sweet Pea digi stamp - Dream of Iris; Spectrum Noir markers; Sakura Stardust glitter pen; peacock feather; Wonky Rectangles spellbinders dies


I added glitter pen to her eyes & the iris centres, and then just on the 'shaded' areas of her hair - and used my finger to spread the glitter around her hair a bit. It gives a much softer shimmery look. I would have used loose glitter but I was making this less than an hour before I was planning to give it to Donna, my Snarky Sister :) No time like the last possible minute! Donna & her family were headed past us on vacation, so we met up & had a great time together at the zoo with our families. It is a crazy fun thing, meeting someone through blogging & hanging out in 'real life' - I totally recommend it!

It's hard to see in the pictures, but to make the card base I scored the fold line, and used washi tape to stick the die so that it wouldn't cut on the fold. I wanted to keep the wonky rectangle shape, so there is a bit of an opening at the top of the card but it still works :)

I also purchased 3 new images from Ching-Chou Kuik last week, so you'll see some more of these images shortly :)

xoxo,
Jessi

Tuesday, April 22, 2014

Shopping our Stash #148 - Happy Earth Day!


I am SO EXCITED to show you what I've made for the new Shopping our Stash challenge! In honour of Earth Day, we'd like to see you recycle or up-cycle something in your project. Use product packaging, die-cut embellishments from a cardboard box, find something around the house & repurpose it...you get the idea. 

So my crazy train of thought went like so. I was colouring this mermaid for the current Sweet Pea Stampers challenge, and I needed a place for it to dry after adding all the glitter & paint. I'd recently cleaned out my "market box" where I keep my paper bags, change, etc, and taken out this frame that I used to use on my table. Some of the gems had fallen off, the rolled paper flowers were crushed & dirtied, and I just didn't like it anymore. For lack of a better place to put it, I'd laid it down on top of my CD stack - and when I put the mermaid there to dry, I thought 'hey, why don't I put the mermaid in the frame?' (And yes, I realize that my craft area is a disaster zone. But then I wouldn't get cool ideas like this!)

Here's the back of the frame (I got too excited & started altering before taking a picture - I used the old insert as  the backing for the new piece of altered art!)


It was just a plain wooden frame, painted with gold acrylic paint. The rhinestone swirls were already adhered (although missing a few, which was easy to fix).  The rest:


This is going to hang on the wall above my desk, once I stop shoving it into people's faces and saying OMG LOOK I MADE THIS!

Because those swirls were already adhered and I wanted to keep them, I knew a complete repainting wasn't feasible. I used Broken China Distress Crackle paint (which had separated, giving some really neat colour variations) in dabs, and then sanded it lightly. After that had dried, I used Tumbled Glass distress Stickles and a paintbrush to lightly coat the entire frame. 


I broke out a lot of fun stuff - you can just make out the embossing paste bubbles, which I heat-embossed with Shabby Blue Frantage EP. The mermaid is coloured with Spectrum & Bic markers, and her tail was painted in with a mixture of liquid pearls & stickles. After painting, I sprinkled Martha Stewart crystal glitter all over for EXTRA SPARKLY! There's some sheer fabric that I frayed & treated with the heat gun, a corsage pin with a big gorgeous glass bead, the last bits of some May Arts ribbons, odds & ends of crystal swirls, and I beaded the ends of the wires that I used to attach the ribbon. I've also stamped some Hero Arts starfish & tucked them in. 

The three flowers on the frame were made by slip-stitching along the edge of seam binding & pulling the ends so that they gathered into a circle. Laura has a great tutorial on this technique here

I think you'll be amazed at the range of things the Stash gals came up with for this challenge -  come & play along with us until next Monday, April 28th!  Make sure you hop on by & leave the rest of my teamies some love!


xoxo,
Jessi

Thursday, February 20, 2014

Vintage Fairy

My mojo has gone no-jo...not so much that the ideas aren't coming, but it's taking forever to translate them to paper (and plenty of paper is being wasted in the process). It's like my fingers KNOW I'm in a rush!
It took three days to finish this, but I do like how it turned out at long last. I've gone with vintage colours & feel for the SweetPea Stampers challenge, and Wings, Fantasy & Fiction for the Stamping Sensations challenge. They both end February 26.


Supplies: SweetPea digi stamp; Bic & Spectrum Noir markers; Prismacolor pencils; Basic Grey papers; Wilton doily; Cuttlebug tag & embossing folder; Victorian Velvet distress stickles; Sakura Stardust glitter pen; loose copper glitter; Antique Linen & Brushed Corduroy distress ink; classic small oval Nesties; tonic distress tool, emery board, random copper brad, pearls


I embossed & then lightly sanded the paper, and distressed the edges of that & the fairy panel. The tag was distressed, crumpled, and then inked.

xoxo,
Jessi

Wednesday, February 12, 2014

Pink Fairy

I just found the Sweet Pea Stampers challenge, and I'm squeaking in with a card for their LOVE challenge ending tomorrow. I'm also entering the current Stamping Sensations challenge - Wings, Fantasy, and Fiction - which has two weeks left to go.


Supplies: fairy stamp from Sweet Pea stamps; Memento Tuxedo Black ink; Bic & Spectrum Noir markers; Martha Stewart loose glitter - pink & crystal; Martha Stewart clay kit; Sakura Stardust glitter pen; pink rhinestones from Dollarama; sheer ribbon from stash


Oh, glitter. How I love you. The pink rose was made with the Martha Stewart clay kit, mixing red & a tiny bit of white. I wanted "something" to go with it - I played with leaves, buttons, rhinestone swirls - and then I spotted this length of pink ribbon on my desk. I tried bows, loops...and finally got the bright idea to cut the notched ends & give it a quick blast with my heat gun, making it crumple. I love how it turned out!

xoxo,
Jessi